Hello, fellow yarn lovers! Are you ready to add a touch of handmade charm to your autumn festivities? Get ready to crochet some adorable little pumpkins that are sure to make your spooky season extra sweet!
Imagine a collection of plump, perfectly round crochet pumpkins, each topped with a cute little stem, ready to nestle amongst your fall decor. They’re so delightful and surprisingly simple to make! Whether you’re just dipping your toes into the wonderful world of crochet or you’re a seasoned pro looking for a quick and satisfying project, these little cuties are perfect for you. They make absolutely charming gifts for friends and family, or you can create a whole patch to decorate your own home. This pattern will guide you step-by-step, teaching you basic stitches and techniques to create these delightful pumpkins in no time. Let’s grab our hooks and yarn and get crafting!
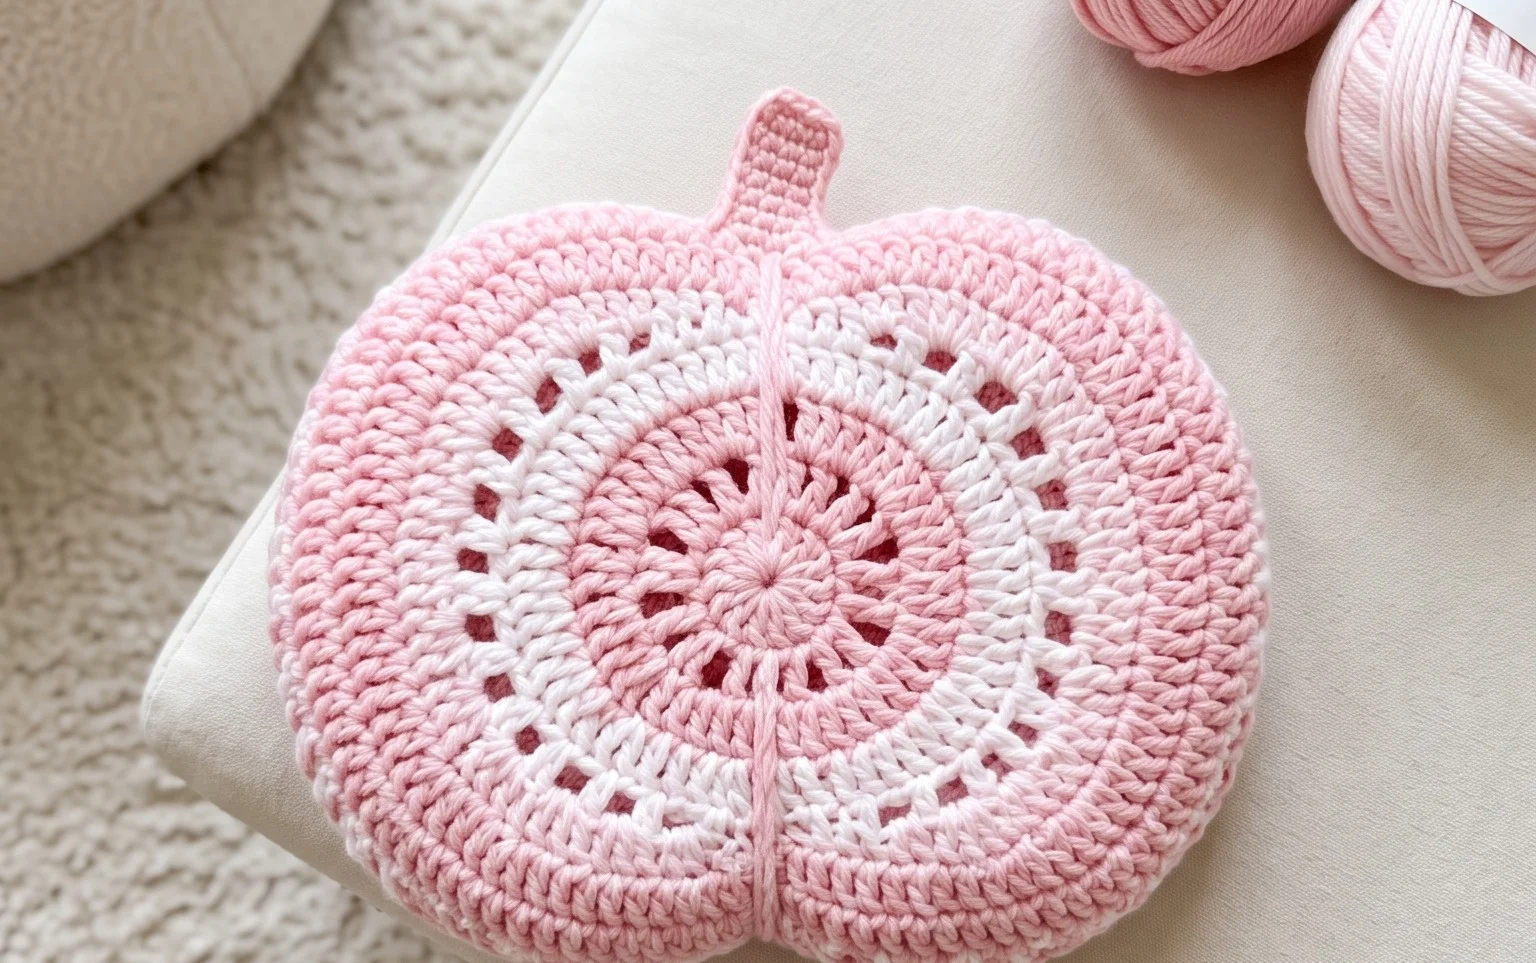
Crochet Pumpkin Cuties: Your Spooktacular DIY Decoration Guide
Fall is in the air, and what better way to embrace the cozy, spooky season than by crafting your own charming crochet pumpkins? These little cuties are incredibly versatile, perfect for adorning your mantelpiece, adding a festive touch to your tiered trays, or even serving as adorable little gifts. Whether you’re a seasoned crocheter or just dipping your toes into the yarn-tastic world, this pattern is designed to be fun, straightforward, and incredibly rewarding. So grab your hook, pick out your favorite autumnal shades, and let’s get ready to crochet some pumpkins!
Choosing Your Perfect Yarn and Hook
The beauty of crochet is its adaptability, and that extends to yarn and hook choices! For these pumpkin cuties, we’ll be aiming for a fabric that has a nice drape but still holds its shape.
Yarn Weight: Worsted weight yarn is our go-to for this project. It’s readily available in a vast array of colors, easy to work with, and creates a substantial yet not overly bulky fabric for your pumpkins. Acrylic yarns are a fantastic choice for their durability, washability, and affordability, making them ideal for decorations that might get a bit of handling. Cotton blends can also work beautifully, offering a slightly more structured feel.
Hook Size: To achieve the desired gauge for a firm fabric, we recommend a hook size that’s slightly smaller than what’s typically suggested on your yarn label. For worsted weight yarn, a 4.0mm (G) or 4.5mm (7) hook usually does the trick. You want to avoid large gaps between your stitches so your stuffing doesn’t peek through. It’s always a good idea to crochet a small swatch with your chosen yarn and hook to check the fabric’s density.
Color Palette: While classic orange is a must-have for any pumpkin project, don’t be afraid to venture beyond! Consider various shades of orange, from deep rust to bright tangerine. Complement these with creamy ivories, deep browns for stems, and even muted greens for a touch of vine-like flair. For a more modern or whimsical look, experiment with pastel pinks, blues, or even a glittery yarn!
Mastering the Essential Stitches
These pumpkin cuties are built upon a few foundational crochet stitches that are perfect for beginners and seasoned crafters alike. We’ll be working in the round, creating seamless shapes.
Magic Ring (or Adjustable Loop): This technique is crucial for starting your pumpkins without a visible hole in the center. It creates a tight, neat circle that is essential for the base of your pumpkin. Don’t be intimidated; many tutorials are available online that demonstrate this technique clearly.
Single Crochet (sc): This is the workhorse stitch for our pumpkin body. It creates a dense and sturdy fabric, perfect for holding the stuffing and giving your pumpkin its characteristic shape.
Increases (inc): To create the round shape of the pumpkin, we’ll be using increases. For single crochet, an increase typically means working two single crochet stitches into the same stitch. This gradually expands the circumference of your piece.
Decreases (sc2tog): To shape the top of the pumpkin and close it off, we’ll use decreases. Single crochet two together (sc2tog) involves crocheting two stitches together as if they were one, effectively reducing the number of stitches and cinching the fabric closed.
Slip Stitch (sl st): This stitch is used for joining rounds and securing your yarn at the end of a section.
Tips for Beginner Crocheters
Embarking on a new crochet project can sometimes feel a little daunting, but with a few key tips, you’ll be crocheting adorable pumpkins in no time!
Practice Makes Perfect: Before diving into your pumpkin, try crocheting a few practice squares or swatches using single crochet. This will help you get a feel for your tension and how to hold your hook and yarn.
Understanding Stitch Markers: These little helpers are your best friend when working in the round! Place a stitch marker in the first stitch of each round to easily keep track of where your round begins and ends. This prevents you from losing count and helps maintain a consistent shape.
Read Through the Pattern First: Before you even pick up your hook, read the entire pattern from start to finish. This will give you a general understanding of the process and any stitches or techniques you might need to familiarize yourself with.
Don’t Fear Mistakes: Everyone makes mistakes, even experienced crocheters! If you realize you’ve made an error, it’s often easier to gently pull out a few stitches (called “frogging”) than to try and fix it in place.
Stuffing is Key: Don’t be shy with the stuffing! You want your pumpkins to be plump and firm, not saggy. Stuff them evenly as you go, ensuring there are no large lumps.
The Stem: The stem is a small but crucial detail. Don’t worry if yours isn’t perfectly straight; a slightly wonky stem adds to the handmade charm!
Customizing Your Crochet Pumpkins
One of the most exciting aspects of crochet is the ability to personalize your creations. Your pumpkin cuties are no exception!
Size Matters: The size of your finished pumpkin is directly related to your hook size and the number of rounds you crochet. To make a larger pumpkin, simply continue working additional rounds of increases and single crochet until you reach your desired circumference before starting the decreasing section. For smaller pumpkins, work fewer rounds.
Color Play: As mentioned earlier, explore different color combinations. You can crochet a pumpkin with stripes by changing colors every few rounds. Imagine a multi-colored pumpkin or one with a gradient effect!
Texture Variations: While our pattern focuses on single crochet, you could experiment with other stitches for added texture. For example, using the Tunisian crochet technique could create a wonderfully textured pumpkin. You could also incorporate front post or back post stitches for ribbed effects.
Embellishments: Once your pumpkin is complete, consider adding some decorative touches. Embroidered stitches can create facial features for a spooky jack-o’-lantern, while small beads or buttons can add eyes or noses. You could also crochet small leaves or vines to attach to the stem.
Caring for Your Crochet Creations
Your handmade pumpkin decorations are built to last, but a little care will ensure they stay looking festive season after season.
Washing: For most acrylic yarns, a gentle hand wash with cool water and a mild detergent is recommended. Avoid harsh chemicals or bleach. If your yarn is machine washable, you can try a delicate cycle in a mesh laundry bag, but always check your yarn label for specific care instructions.
Drying: Gently squeeze out excess water, but do not wring your pumpkin. Reshape it as needed and lay it flat on a towel to air dry. Avoid direct sunlight, which can fade colors over time.
Storage: When the spooky season comes to an end, store your pumpkins in a clean, dry place. A breathable fabric bag or a plastic bin with silica gel packets can help protect them from dust and moisture.
Project Ideas for Your Pumpkin Cuties
These versatile pumpkins can be used in so many delightful ways!
Mantelpiece Magic: Arrange a collection of pumpkins in varying sizes and colors along your mantelpiece for an instant autumnal focal point.
Tiered Tray Treasures: These small wonders are perfect for adorning tiered trays, adding pops of color and texture to your seasonal displays.
Spooky Centerpieces: Cluster a few pumpkins together as a charming centerpiece for your dining table or coffee table.
Gift Giving: Package a few pumpkins in a small basket or bag for a thoughtful and handmade gift for friends and family.
Falloween Garland: String a series of smaller pumpkins together with sturdy yarn or twine to create a festive and unique garland.
Haunted House Accents: Scatter them around your home for a subtle yet impactful spooky ambiance.
Crocheting these pumpkin cuties is a wonderfully relaxing and creative way to embrace the autumn spirit. With this guide, you have all the tools and inspiration to craft your own personalized collection of Halloween décor. Happy crocheting, and have a wonderfully spooky season!
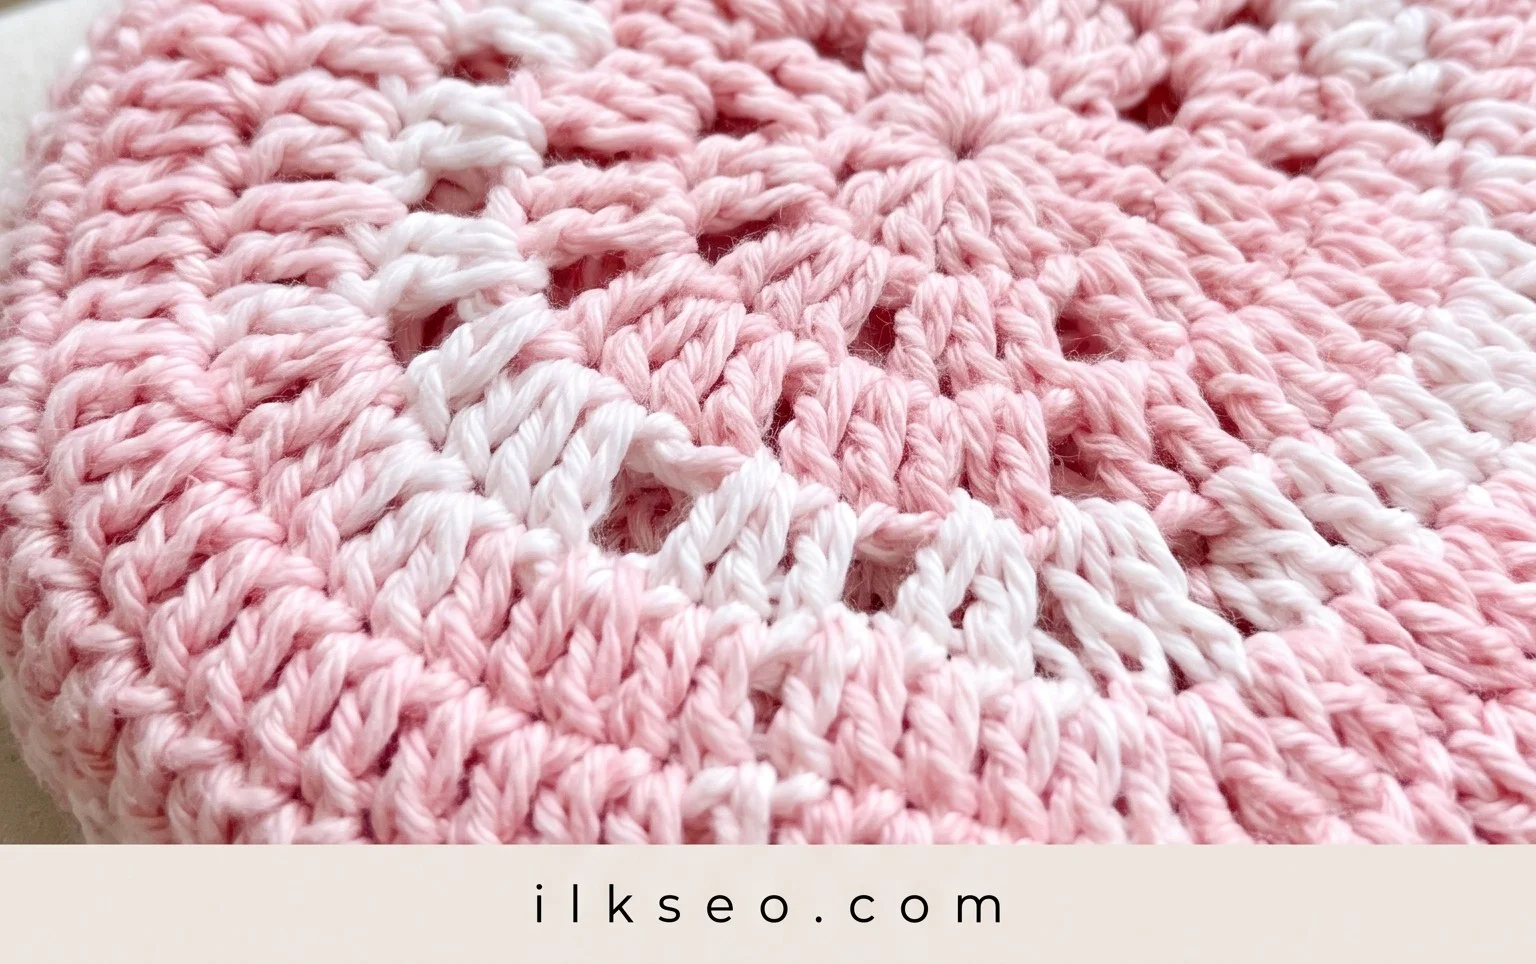
And there you have it! Your adorable Crochet Pumpkin Cuties are ready to bring a touch of handmade charm to your spooky décor. We hope you had as much fun crafting these little gourds as we did sharing this pattern with you. Don’t be shy – grab your hooks and give them a try! We’d absolutely love to see your finished creations. Tag us on social media using #[YourBrandHashtag] – your creativity is what makes this community so vibrant!
Feel free to experiment with different yarn colors, sizes, or even add little crocheted stems and leaves to make each pumpkin uniquely yours. And if you enjoyed making these cuties, be sure to explore our other patterns for even more delightful crochet projects. Happy crocheting!